Wednesday, June 18, 2014

Summer Sprinkler House

I needed to get a sprinkler for the dry spot on the lawn. So I made a sprinkler for the kids to play in, two birds, one stone.

She said this was close enough. 

Seeing as how this is a relatively cheap project to do I started right into it. We went to the hardware store to pick up the pvc piping and other such connectors. 
 The grand total came to about 40$.

 A close up of the parts I used.

 The sprinkler tips used to give the varied spray patterns.

The most expensive part was the series of connectors needed to attach it to the garden hose.

 I based most of the design on the quantity a contractor pack contains, ten. 

 The tools I used. 
(A fairly cheap pipe cutting tool could also used in place of the sawzall.)

 The sides.
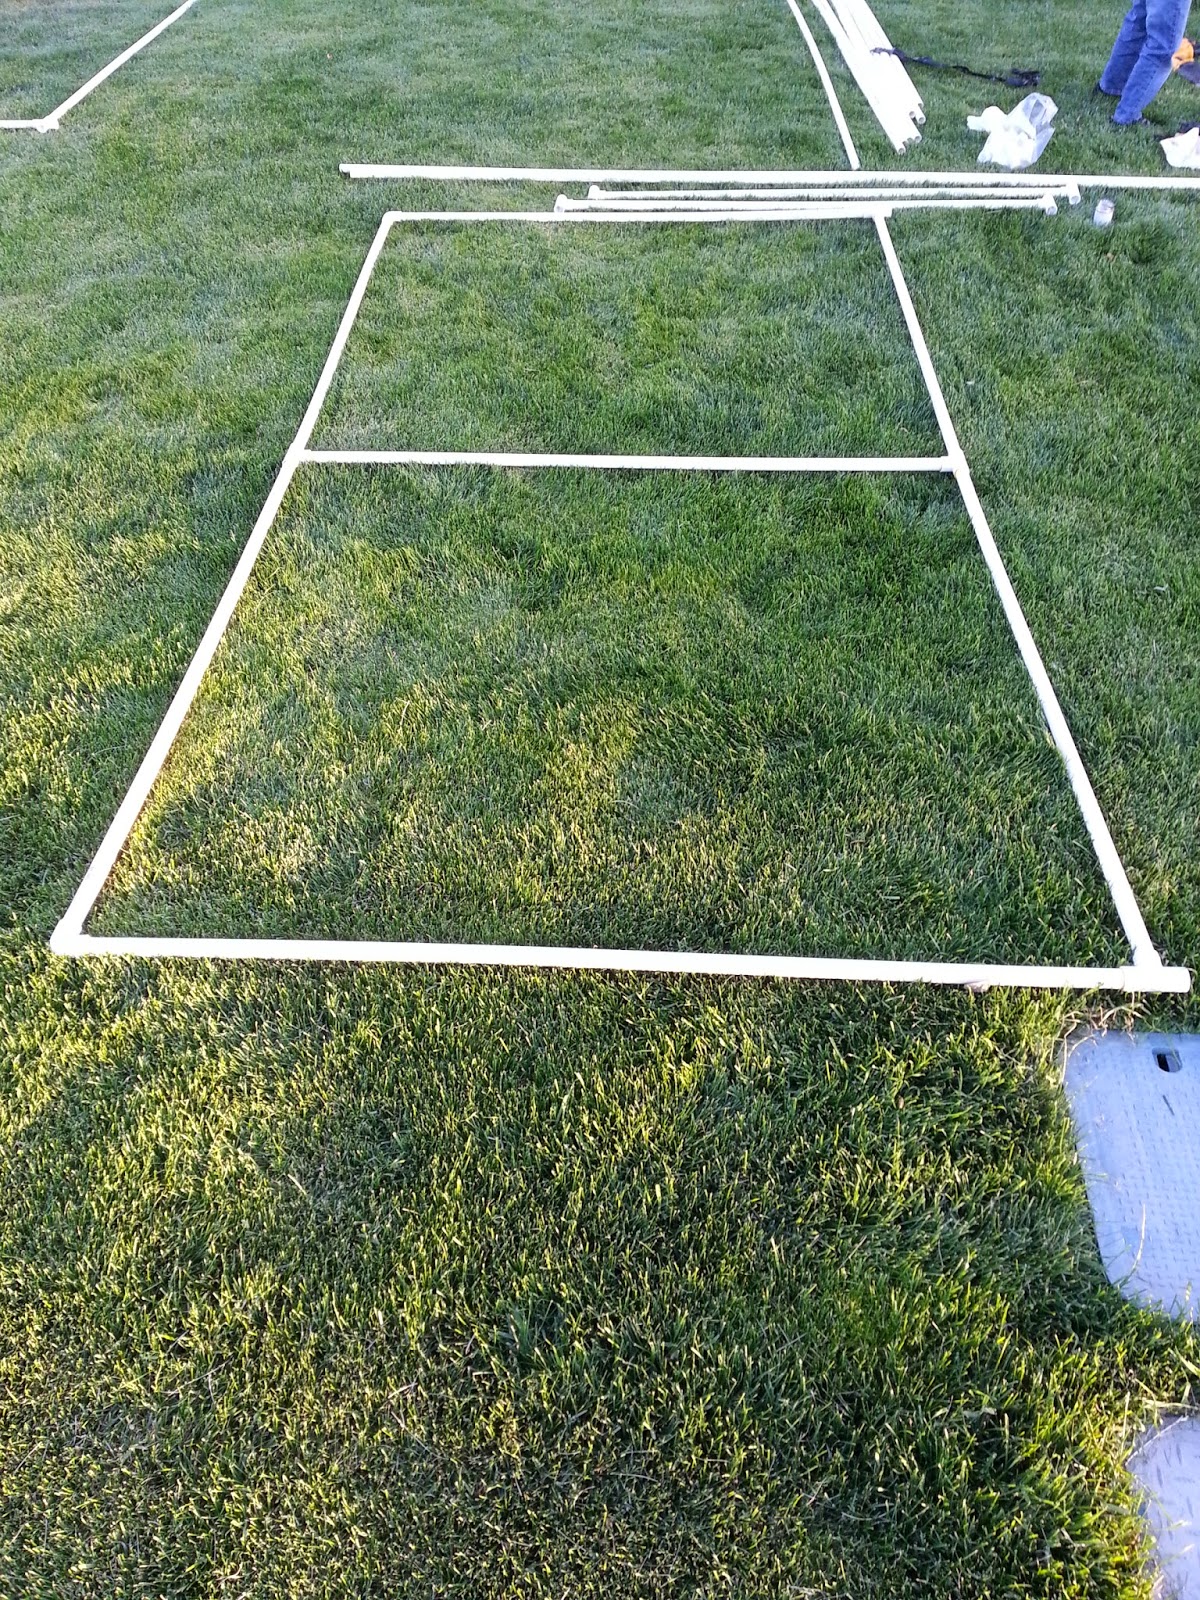
I based the design on the size of the pipe at full length, which is ten feet. Although, I cut most of them in half to add the structural supporting T's and corner pieces. It is important add that you should probably sand wherever you are going to put glue. It gives you a better bond and will give you less headache later with possible water leaks.
On the arches, (which are mostly decorational) I let the glue cure fully on the bottom straight piece and one of the top arch connections before I glued and bent and connected the top full length pipe into the connecting T piece. So as to keep the force of the bent arch from pulling apart the T from the other connections.

 At about the half way point, maybe three hours in. The basic structure is together.

The next day I realized I would want to take it apart to store, so I went back to the hardware store to get the remaining parts needed to complete the project. 
(Which is is a trip common to every project I do. I call it trip two of ten)
These pieces will allow the connection between the sides and the arches to be removed and taken apart to be stored much more easily.

 The hardware store was doing a kids day activity so we stopped to participate and the kids loved it!


The threaded T's where added wherever I decided to put the sprinkler heads. I put the ones that shoot straight out in either direction on the bottom, the quarter rounds in the upper corners spraying inward and the half ones should have been facing inward at the half way point.


The last part added was the hose connecting piece, it was positioned it at the bottom where it will be able to double as a drain. 

The stabilizing pieces were added to the sides to keep it from tipping over and we were ready to go!
 The finished product!


Wednesday, April 30, 2014

What happens when you don't drain your sprinkler system before it freezes.

I know better, I really do. But life got hectic, the kids needed attention, work stress, honey do's, other household projects distracted me. The list of excuses goes on.

It all started when the city turned back on the irrigation water this spring. I thought I'd be the first on the block to get my sprinklers going. However, I was very disappointed when I had no water pressure. The sprinklers seemed to be so weak. I thought, it must be the city has not put the full pressure to the lines yet. Not thinking much of it I ran through the usual check list of checking each sprinkler section for broken heads. Except for the low pressure nothing seemed too out of the ordinary. That is until I checked station number six. There was a huge pond forming. I traced it to a flow coming up from a new hole in the lawn. Well crap I thought, I went to turn off the station and checked back. It hadn't stopped flowing. I had to turn the water off from the city before it stopped flowing. Even worse, it was coming from the water main. Well that sucks, I thought, maybe this is a good spot for a pool?

So here is how you go about repairing a water main break:
After you locate the main flow point in the lawn, dig a small enough square of lawn away so you can manage lifting it away from the dirt. Start gently digging till you see pipes, then clear the soil from a few inches underneath them. The goal is to locate where the pipe break is, then trace it both directions till you have about six inches of good pipe protruding from the soil on either side. You may need to turn the water back on briefly to verify you have located the entire break.There may be hairline fractures so look closely or go farther up the pipe to be on the safe side.

To my great joy (sarcasm) the break went a ways under the cement pad.
 As you can see from the picture above, it was the bottom most pipe that burst. The clean new part is the length that broke. This picture was taken after I had completed the repair.

The broken pipe:
It broke at the elbow and up the pipe about eighteen inches one way and several feet in the other.

These are the parts I used to repair this section of pipe.
 One inch pipe about 12 feet long, two sleeves, pvc glue, and an elbow with a pressure release valve to keep this from happening again in this section.

Cut the pipe to the correct length, (use a tape measure) I used my sawzall to make the cuts. Sand and clean the parts that will be glued together to give the glue something to hold on to. Put glue on both parts before joining them. Give the glue some time to set up before you test the repair for leaks you may have missed.


I also added a green box over the valve for two reasons. To keep soil clear of the valve so it can drain and for easy access should there be another incident..


After completing the repair turn the water back on and check for the other breaks. (Trust me, there are more.)

In total I found three major leaks, like the one above.

This second pipe break shattered the pipe in a much larger section, it was three feet one direction and about four feet in the other. The broken pipe is in the lower part the picture and the replacement pipe and fittings are the clean one in the lowest part of the pit..

As you can see, the pipe break wasn't small. It completely shattered the pipe.

I had the joy of completing this all in the rain as it was my only day off to complete this work and it was going to be done rain or shine.

So in conclusion, you can do all this or just learn from my mistake and clear the freaking water lines before it freezes in the fall.

Guess which one I'll be doing?

Wednesday, October 30, 2013

Grim Reaper Costume or "George"


Several months ago I got the idea to make a Grim Reaper costume for Halloween. I didn’t want to do one on stilts like I saw all over the web, I wanted to make one with proportionate body parts. The idea blossomed and then quickly snowballed into a huge ten foot costume that I’m afraid will get me or someone else killed. My goal is to frighten but after getting the first reaction we got, I’m a little concerned people might freak out.
 

Like this:


Here is how I did it:

The Concept
 First, I drew what I imagined it would look like and how I would do it.

Next, I looked around on pinterest and google to see what other people had done. I wasn't quite happy with what I found. I saw a few who had put on stilts and dressed up as a reaper but that just looks like a guy on stilts. To me, a Reaper should be emotionless. I can't help but think of a line from the pixar movie Monsters inc. "It's all about presence!"
A ten foot Reaper isn't going to have a head and shoulders the size of an average sized man. It's going to be much bigger and broader. I based the scale on the skull my good friend Brian found for me at a thrift store. I did a few calculations to determine how big it needed to be to make it look proportionate to the size of the head which is about nine and a half feet tall. I started building the basic inner backpack frame that would act as the skeletal structure for the reaper. I used half inch pvc pipe from the hardware store because it's cheap and light. I grabbed my buddy who bought the skull for me (who is about my same height) and had him strap on my hiking backpack and measured from the ground up. Then started building the frame once I had those measurements. I used four to five ten foot lengths of one half inch pvc pipe. Two contractor packs of T connectors (~20) Two contractor packs of forty five degree elbows, a dozen end caps and my sawzall.


The Frame
This is the lower part of the frame that fits into the backpack.


A quick shot of the backpack along with the basic frame.


I tried finding an online calculator to help scale the demensions up but found nothing but dead links and web pages. So I did the math myself. Skip this part if you don't like math or aren't worried about scale.
I measured  my own body parts, shoulders both width and depth. chest, waist, head, arms upper, lower and hand. I used a conversion app to take all those measurements and converted them into the metric system. Which is far superior for actual practical use because it scales things in groups of one hundred which allows for easier scaling up by way of percentage.

Example: I am 5 foot 9 inches tall or 179cm.
The height of the reaper is about 9 foot 6 inches tall or  233cm.
Divide my height by what I wanted and got a scaling number which happened to be 1.68.
So I multiplied all my own dimensions by 1.68 and got the numbers I used.
Which is what I would look like as a giant.


The Arms
The arms are made in three parts: upper, lower and wrist/hand.

At each joint drilled two holes in a cap strung a 1/32" cable in a tight circle which joined the two ends together. The pool noodles were cut at about the appropriate lengths to simulate muscle or the shape of the arm. I attached the pool noodles by tying a string in a circle through both the pipe and noodle. The strings made the cap very tight so I used mallet to get the caps on securely.


I did roughly the same thing for the shoulder.


This is what it looks like when worn. Note that the frame for the body goes up over my head and that his waist level lines up with my eye level.

 The main body was a bit tricky. I would highly recommend using gloves for this part unless you have very calloused hands like I do. I basically molded bent shaped and bent the metal until it was close enough to the shape I wanted.  I used metal wiring and twisted them like the twisty ties you get on bread to hold every bend and contour in its shape. Then I covered the sharp edges with duct tape.

 These pics were added after I finished the costume. They show how I used duct tape to cover the sharp parts to keep them from poking my head.

 This pic is to show how I used PVC tubing to extend and to move Georges arms around. I painted the PVC matte black so it wouldn't be visible.

Tuesday, August 6, 2013

Lawn Maze

Every once in a while I get behind on my lawn mowing and the result is not enough space in the trash for all the clippings. So rather than take a trip to the dump I made a lawn maze for the kids.


The maze goes from the patio, through the playhouse, down the slide, back out into the maze and ends at the trampoline around the side.


Tuesday, October 9, 2012

Halloween Chandelier

Any old light will do- Spray Paint Black
Gather Supplies for stringing! I got mine at a great wearhouse sale at DCWV inc. They also have these great
supplies online here. 

 String your beads together 

 Here is where it got a little more involved. To attach the strings, I used a small drill bit and drilled
holes in the chandelier where i wanted all the beads to attach. Then threaded the ends of my stings
though the holes drilled, and tied them off  and secured with a bead and a dot of super glue.
 After stringing the entire chandelier. I attached skulls and Ravens. Both items
I found at the Dollar Store. I then epoxied the solar lights into place (also a popular pin floating 
on Pinterest)


There was much debate on where to hang it. Outside or Inside.

Friday, September 21, 2012

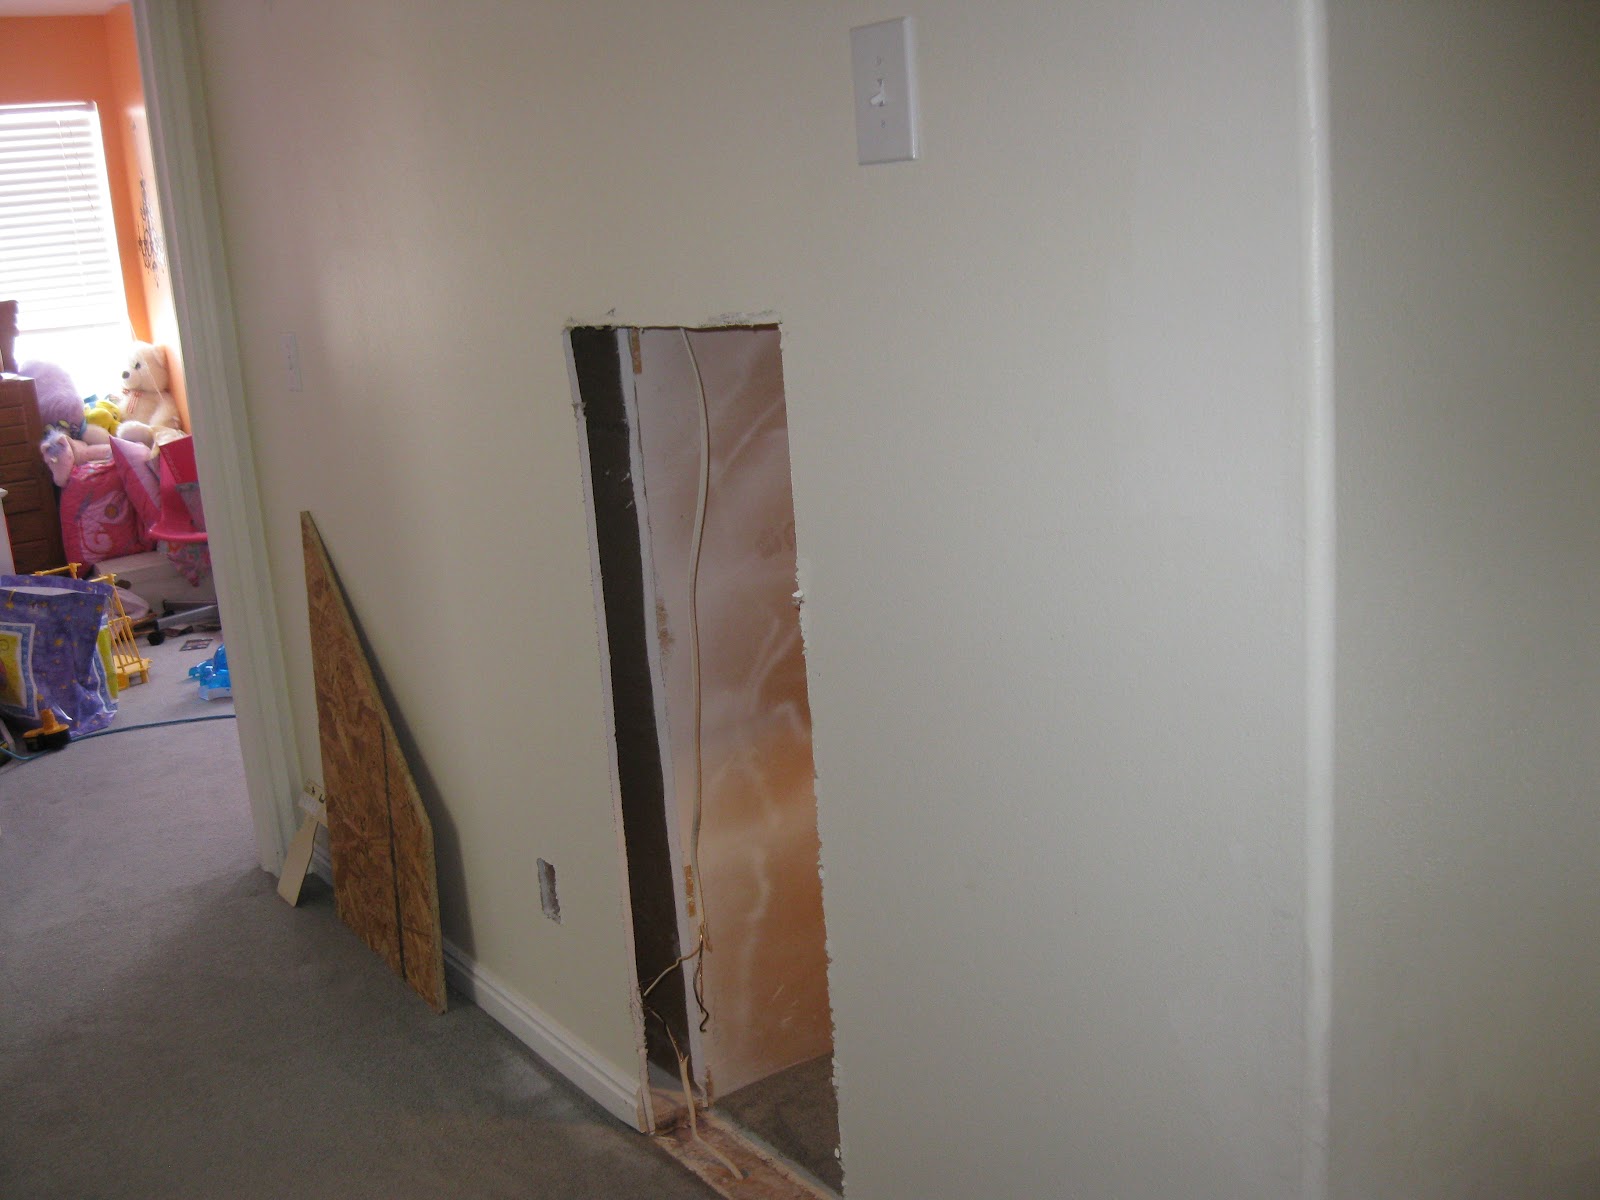
The space behind the walls turned into a play area for the kids


The first part is demo. Tear the wall out between the two areas and clean out all the insulation.


I cut a hall entrance.


Shot from the bedroom looking into the closet and then into the wall space.
Shot from the closet looking toward the bottom L of the wall space.
Because I can't move the vents, I just made a little entrance beside them going through the closet. I lost some shelf space but its a bigger closet so I wasn't worried.
Looking from the bottom L towards the hall.
Looking from the hall towards the bottom L.

Crappy side view video taken with my phone during the construction process.

Here is a map of the area I found behind the walls.


Hallway entrance looking towards the stairs.


Adding the second level.

Framing it in.


Adding the second level floor.

 Looking from the bottom L, top level, towards the closet entrance.

 Starting to sheetrock.
 Wired for lighting and power. 


 Closet entrance, upper level.
 Closet entrance, lower level.

This is still a work in progress. The sheetrock is in mudded and painted. I will upload pictures later.