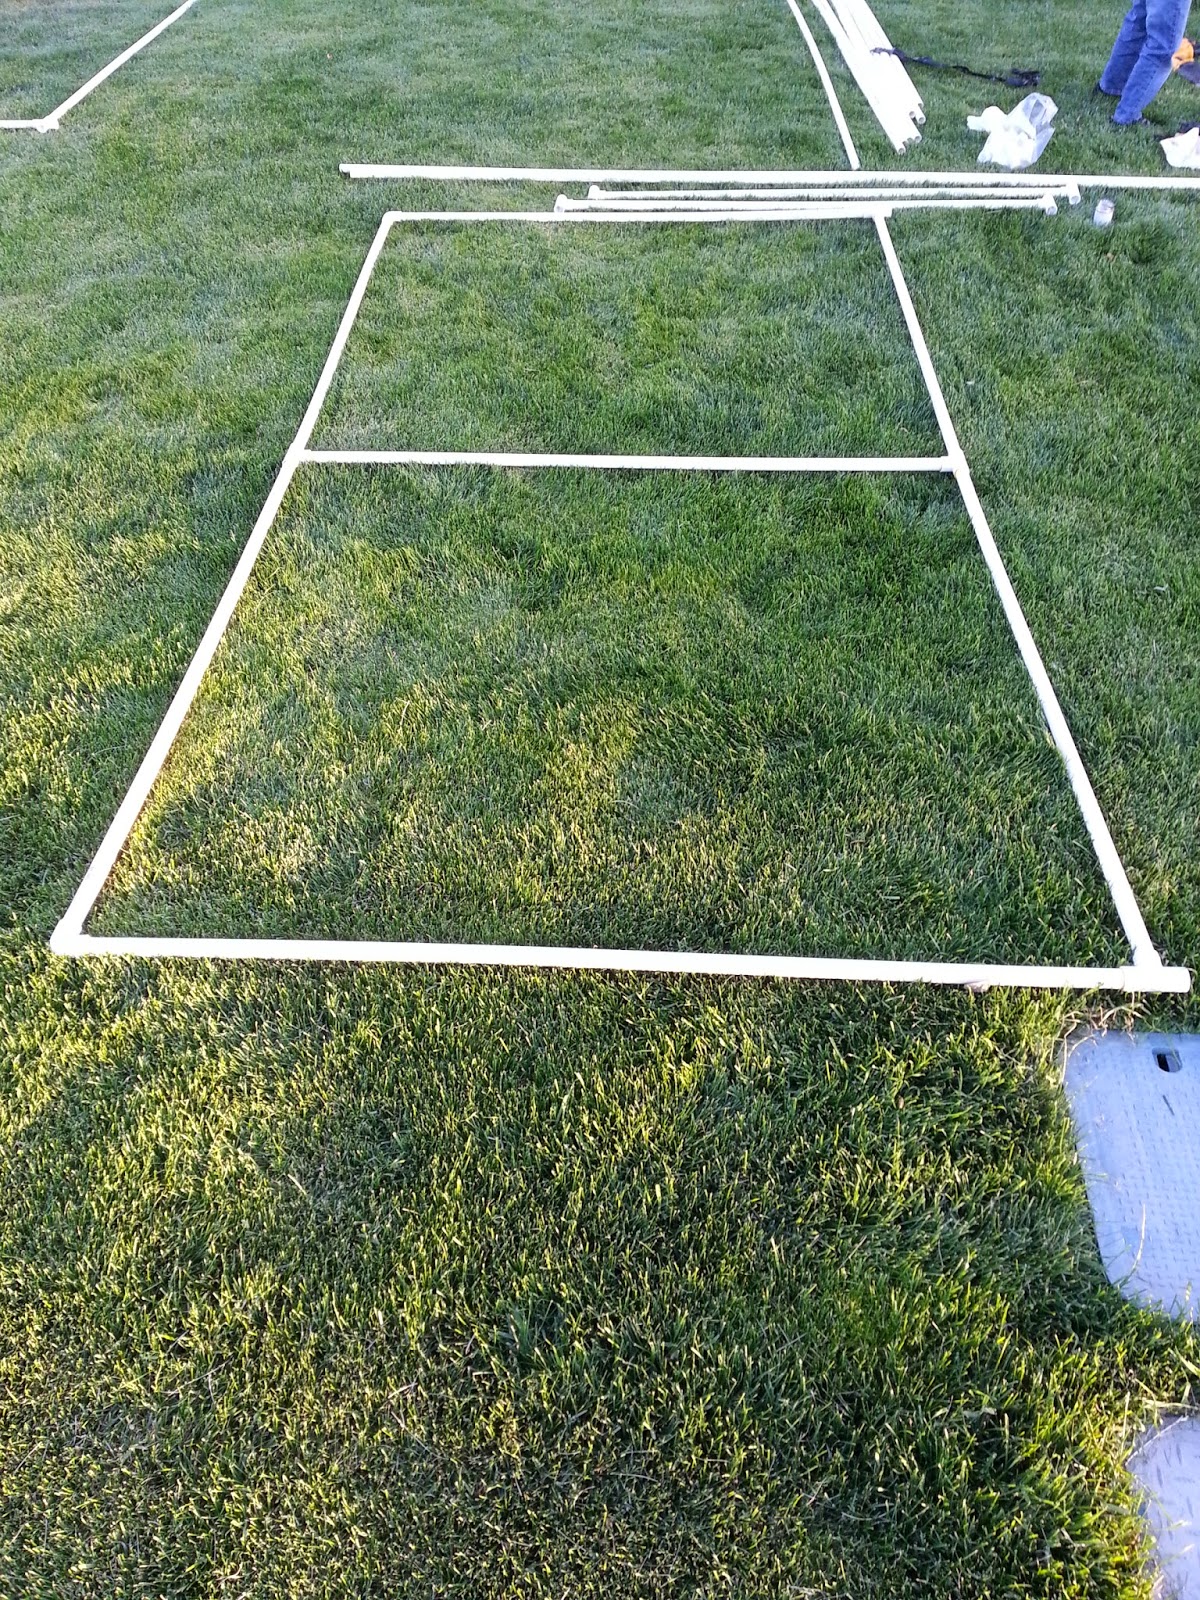
She said this was close enough.
Seeing as how this is a relatively cheap project to do I started right into it. We went to the hardware store to pick up the pvc piping and other such connectors.
The grand total came to about 40$.
A close up of the parts I used.
The sprinkler tips used to give the varied spray patterns.
The most expensive part was the series of connectors needed to attach it to the garden hose.
I based most of the design on the quantity a contractor pack contains, ten.
The tools I used.
(A fairly cheap pipe cutting tool could also used in place of the sawzall.)
The sides.
I based the design on the size of the pipe at full length, which is ten feet. Although, I cut most of them in half to add the structural supporting T's and corner pieces. It is important add that you should probably sand wherever you are going to put glue. It gives you a better bond and will give you less headache later with possible water leaks.
On the arches, (which are mostly decorational) I let the glue cure fully on the bottom straight piece and one of the top arch connections before I glued and bent and connected the top full length pipe into the connecting T piece. So as to keep the force of the bent arch from pulling apart the T from the other connections.
At about the half way point, maybe three hours in. The basic structure is together.
The next day I realized I would want to take it apart to store, so I went back to the hardware store to get the remaining parts needed to complete the project.
(Which is is a trip common to every project I do. I call it trip two of ten)
These pieces will allow the connection between the sides and the arches to be removed and taken apart to be stored much more easily.
The hardware store was doing a kids day activity so we stopped to participate and the kids loved it!
The threaded T's where added wherever I decided to put the sprinkler heads. I put the ones that shoot straight out in either direction on the bottom, the quarter rounds in the upper corners spraying inward and the half ones should have been facing inward at the half way point.

The last part added was the hose connecting piece, it was positioned it at the bottom where it will be able to double as a drain.
The stabilizing pieces were added to the sides to keep it from tipping over and we were ready to go!
The finished product!


